Hi Everyone ,
Yay! It's good to be back 😃. It's been too long!
Tonight, I'm super happy n honoured to be over on PaperArtsy's blog sharing a few projects that I've made for their recent Topic: Mattints.
I always feel so lucky and priviledged to create with PaperArtsy's fabulous and inspiring products and this time was no exception as I got to 'play' and 'create' with PaperArtsy NEW Mattints and Ellen Vargo stamps .
PaperArtsy Mattints are a 'Tinted Transparent Matte Glaze' and 'Glue' and the first 4 colours ( Glow, Fern, Nutty, Shark ) were release NOV/DEC 2023 with 4 more ( Jam, Squeezed, Dragonfly, The Pink) being release this year Feb 2024.
From spending some much enjoyed Mattint 'play' time getting to know them I soon realised what a versatile product they are - real multi-taskers! They've fast become a welcome addition to my art supplies- my new 'flexible friends'. ;)
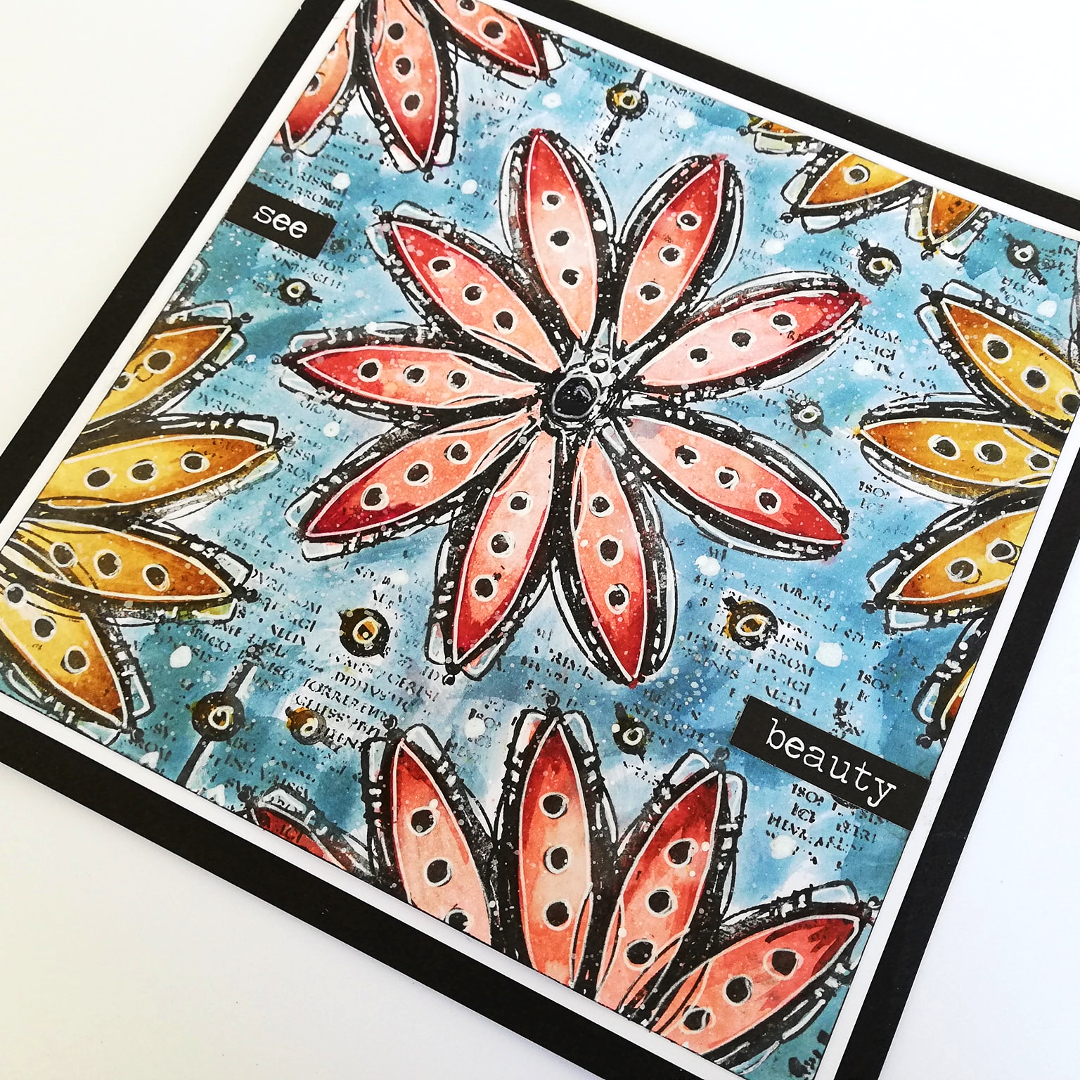
During this Mattint 'play' time together we swatched, colour blended, colour mixed, splatted and sprayed and it was fromall of that along with the Ellen Vargo stamps I'd chosen to work with (EEV09) that sparked ideas for my projects.
I combined some 'pattern play with some fabric painting to create a collection of projects !!

If you would like to find out about the projects and the creative fun (and 'drama'🤯) I've had there's lots more to see and read over on the PaperArtsy blog.
I would love for you to join me there and share your company.
For a super speedy re- route just click HERE ,
Hope to see you soon
Amanda
x